FormulaPilot Blog
Handmade Candle Testing: How to Compare Wax and Fragrance Combinations Without Confusing the Results
A good candle test does not start with scent alone. It starts by proving that your wax, vessel, and wick behave well together, then comparing fragrance options in that stable setup so your results are easier to trust.
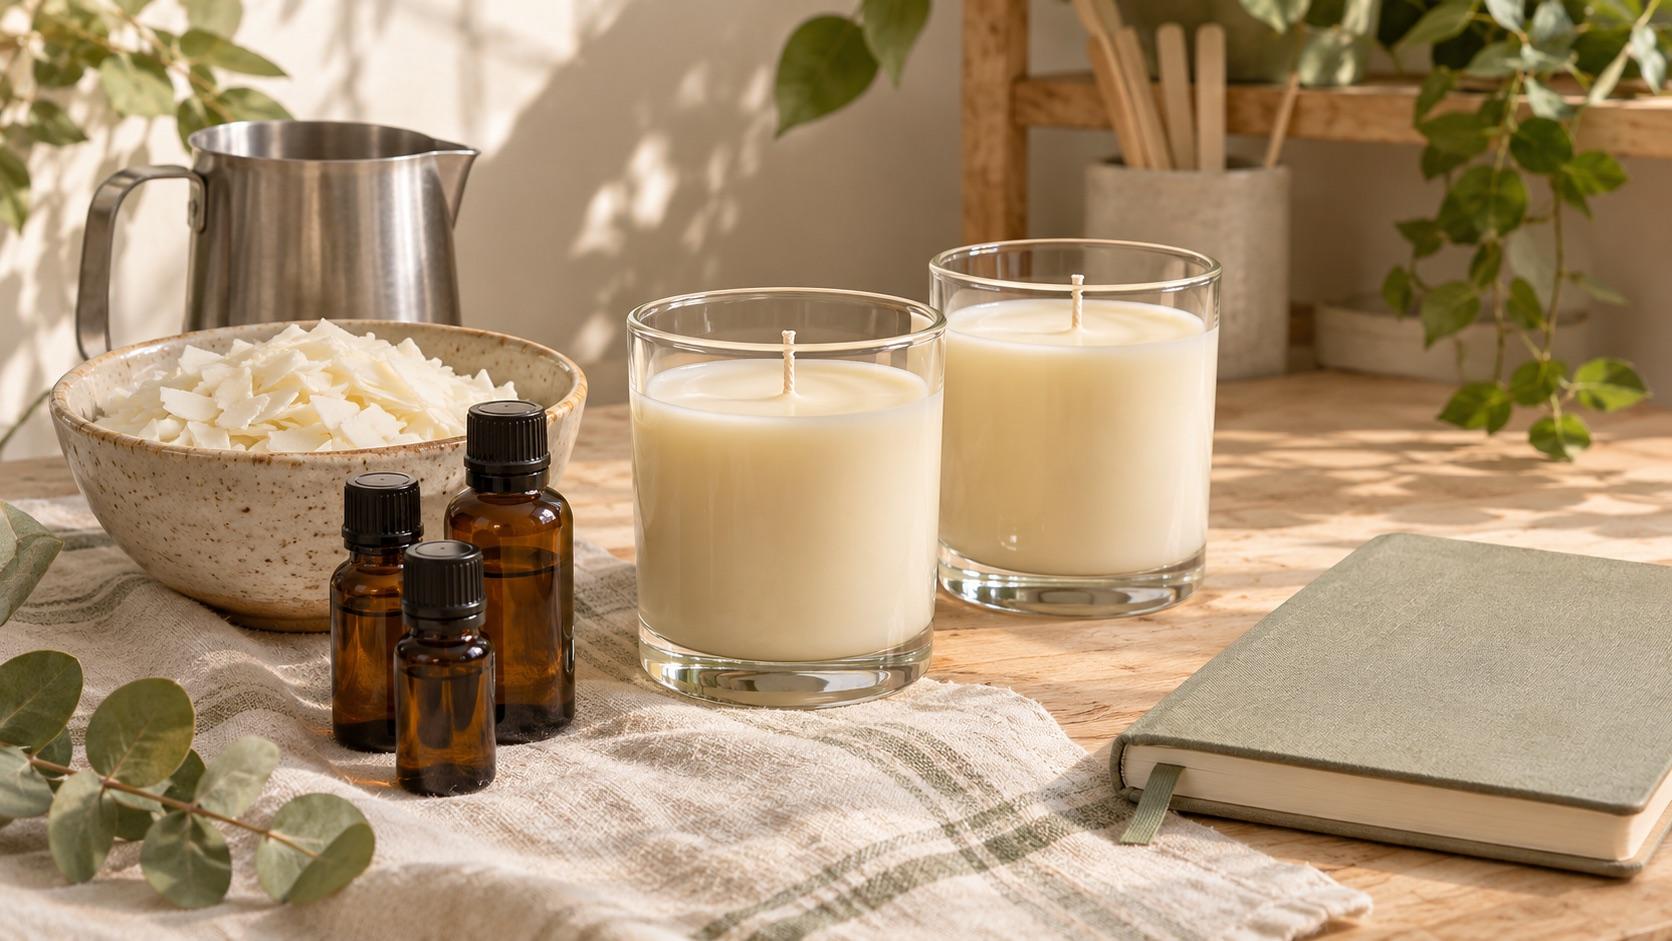
Making a candle that smells good is only part of the job. A handmade candle also has to burn in a stable, predictable way. That is why testing wax and fragrance combinations works best when you resist the urge to change everything at once.
If you swap wax, increase fragrance, try a new wick, and pour into a different jar all in the same round of samples, you may still end up with a candle you like. But you will not know *why* it worked, or which change caused a problem. A more useful approach is to build a baseline first, then introduce fragrance variables into that setup one at a time.
Start with a baseline candle
Before comparing fragrance oils, make an unscented candle in the exact vessel you want to sell or repeat. Use your intended wax and a candidate wick, then observe how that candle burns through repeated sessions.
This first candle answers a basic question: does the wax, vessel, and wick combination behave reasonably well on its own? If the answer is no, fragrance testing will only muddy the picture.
Your baseline test should keep these factors fixed:
- wax type
- vessel shape and dimensions
- wick series and size
- pour method
- cure time
- burn environment
The National Candle Association’s educational testing framework uses the same logic for controlled comparison: keep the base materials the same so the variable you are studying stands out more clearly. For a small maker, that means fragrance testing becomes much easier to interpret once the candle base itself is not fighting you.
Change one variable at a time
Once the unscented candle gives you a workable starting point, begin fragrance testing by holding everything else constant. That usually means one wax, one vessel, one wick choice, and one production method for an entire test round.
Then choose just one variable to compare, such as:
- fragrance A versus fragrance B at the same percentage
- the same fragrance at two different load levels
- the same fragrance in two waxes, if you are deliberately comparing wax systems
This sounds simple, but it is the step that saves the most time. If three samples differ in both fragrance and wick, you cannot tell whether weak hot throw came from the oil itself or from a wick that never built a proper melt pool.
In practice, many makers do best with a sequence like this:
1. Prove the base candle works unscented.
2. Test one fragrance at a modest load in that base candle.
3. Re-check burn behavior, because fragrance can change it.
4. Only then compare other fragrances or fragrance loads.
That order keeps the experiment readable instead of turning it into guesswork.
Use fragrance loads conservatively and within supplier guidance
A common mistake is treating fragrance load as a universal number. It is not. One wax may handle a given load differently than another, and one fragrance oil may behave differently than the next.
Start with a conservative percentage that fits the guidance for your wax and the applicable documentation from your fragrance supplier. The goal is not to chase the highest possible number. The goal is to find a combination that gives a good scent experience *and* acceptable burn performance.
It is also worth ignoring “one-size-fits-all” recommendations you may see repeated online. Even when an industry study uses a specific fragrance percentage, that does not turn the study condition into a formulation rule for every handmade candle. Your wax system, vessel, and fragrance choice still need their own test.
Evaluate cold throw and hot throw separately
A fragrance can smell strong in a cured candle on the shelf and still underperform when burning. The opposite can happen too: a candle with a mild cold throw may open up nicely once lit.
That is why it helps to assess scent in two stages.
- Cold throw: smell the cured, unlit candle under consistent conditions.
- Hot throw: evaluate scent while the candle is burning in a similar room setup each time.
Try to keep the comparison environment as consistent as you can. Use the same room size, similar air movement, and similar burn timing before judging the scent. If you test one sample in a small closed office and another in a breezy open kitchen, your notes will be harder to trust.
When recording scent performance, simple observations are often more useful than dramatic language. Note whether the fragrance smells true to the bottle, whether it feels weak or clear in the space, and whether the scent changes character as the candle burns.
Burn-test the finished combination, not just the scent
A candle is not fully tested just because it looks smooth and smells pleasant. The finished wax-fragrance-wick-container combination still needs a real burn test.
CandleScience recommends observing candles at regular intervals during burns, limiting a single burn session to four hours, allowing the candle to cool thoroughly, and repeating the process over multiple burn sessions until roughly 1/4 inch of wax remains. That kind of repeated observation matters because many candle problems only become obvious after several burns.
During each burn, watch for:
- flame that is too large, too small, or unstable
- excessive soot or smoke
- melt pool development
- tunneling or hang-up along the sides
- mushrooming or carbon buildup at the wick
- unusual odor changes while burning
- container overheating or other concerning behavior
This is the point where a fragrance test often becomes a wick test too. A wick that behaved well in your unscented baseline may struggle once fragrance is added, especially if the load changes viscosity or burn behavior. That does not mean the fragrance is unusable. It may mean the finished formula needs a different wick size or series.
Keep a test log you can actually use later
Detailed records are what turn candle testing into repeatable formulation work instead of memory-based tinkering. You do not need an elaborate lab system, but you do need enough detail to recreate a success or investigate a failure.
Useful notes include:
- wax name and batch if available
- fragrance name and supplier
- fragrance percentage
- wick series and size
- vessel dimensions
- pour temperature or process notes you normally track
- cure time before testing
- date and duration of each burn
- observations on flame, melt pool, soot, and scent
This is exactly the kind of record that is easier to maintain in formulation software like FormulaPilot, especially when you want to compare versions side by side later. Even a simple version history helps when sample 3 burns beautifully and sample 4 does not, despite looking nearly identical on the bench.
Set pass/fail criteria before you fall in love with the scent
It is easy to forgive a candle’s problems when the fragrance is beautiful. But a testing process works better when you decide in advance what counts as acceptable.
Your pass/fail criteria might include things like:
- stable flame during normal burn sessions
- no abnormal soot production
- melt pool development that is appropriate for the vessel over time
- scent that is noticeable without obvious burn issues
- no concerning container heat or erratic behavior
Having these standards written down keeps you from promoting a candle based on cold throw alone. It also helps you make calmer decisions when a sample is close but not ready. If the scent is excellent but the flame is too aggressive, you are not done; you have identified a promising candidate that needs adjustment and retesting.
A simple example of a useful test round
Imagine you want to compare two vanilla-forward fragrance oils in one tumbler candle.
You might build the round like this:
- One unscented baseline candle with your chosen wax, tumbler, and wick
- One candle with fragrance A at your starting percentage
- One candle with fragrance B at the same percentage
Everything else stays the same: same wax batch, same vessel, same wick, same cure period, and same burn schedule.
After repeated burns, you may find that fragrance A has a better hot throw but produces a more active flame, while fragrance B smells slightly softer but burns more cleanly. That tells you something useful. You can then decide whether to test fragrance A with a wick adjustment, or fragrance B at a different load, without losing track of what changed.
Compare that with making six candles that all differ in wax, wick, fragrance, and fragrance level. You might still learn something eventually, but the path will be much slower.
Troubleshooting what your test is telling you
When a wax and fragrance combination disappoints, the fix is not always “add more fragrance.” Often the test result points somewhere more specific.
- If the hot throw is weak but burn behavior is otherwise good, test a different fragrance at the same load before assuming the wax is the problem.
- If the fragrance smells good cold but seems dull when burning, repeat the test under consistent room conditions and review cure time before reformulating.
- If adding fragrance creates soot or an oversized flame, treat it as a signal to re-evaluate the wick.
- If two candles smell similar but one burns much cleaner, the cleaner-burning version may be the better development path.
Good testing reduces emotional decision-making. Instead of asking, “Why is this candle weird?” you can ask, “What changed in this sample compared with the control?” That is a much easier question to answer.
The goal is a trustworthy comparison
The most helpful candle tests are not the most complicated ones. They are the ones you can interpret with confidence.
Build a stable baseline. Change one variable at a time. Check both scent performance and burn performance. Keep records that let you repeat what worked. When a fragrance change alters the burn, accept that the candle may need a wick adjustment and test again.
That process is slower than guessing, but faster than remaking the same candle over and over without learning from it. And for a handmade candle, that is what meaningful testing should do: help you understand the combination, not just hope for a good result.
References
- How To Conduct a Basic Burn Testhttps://www.candlescience.com/learning/how-to-conduct-a-burn-test/
- Science Projectshttps://candles.org/science-projects/
- How to Test Fragrances in Candleshttps://www.brambleberry.com/candles/how-to-test-fragrances-in-candles.html
- Candle Study Summaryhttps://candles.org/wp-content/uploads/2025/09/CANDLE-STUDY-SUMMARY-1.docx
Facial Serum Formulating: How to Design a Lightweight Serum That Layers Comfortably
A lightweight facial serum is more about sensory feel than a single formula style. Here’s a practical way to prototype, test, and troubleshoot a serum that spreads easily and sits well under the rest of a routine.
Lotion Making: What Keeps Oil and Water Together in a Homemade Lotion?
Homemade lotion stays mixed because it is an emulsion, not just oil and water stirred together. The ingredient doing the heavy lifting is the emulsifier, which helps tiny droplets stay dispersed instead of separating back into layers.
Inventory Planning for Makers Who Formulate Lotions, Salves, Soaps, and Candles
Good inventory planning helps makers stay in stock, reduce waste, protect quality, and understand real product costs. Here’s a practical approach for formulators working with lotions, salves, soaps, and candles.